Documentation
Version 1.0Getting Started
ADMINISTRATION
Configuring Billbox POS for the first time? Take things step-by-step and try not to feel too intimidated.
Follow the steps in this guide and you will be up and running quickly.
There are a few things that need to be done if this is a new Billbox POS installation.
Decide if this is a single or multi-terminal installation
Install Java JRE 1.8 (minimum).
Install MySQL server 5.5 (minimum)
SETUP STEPS
The key to making sure you get the best out of Billbox POS is follow these Set-up steps. Have some patience when you first start out and try to follow these simple steps...
1. JAVA
You have to have the correct Java JRE Runtime installed for your Operating System.
If you're running Windows x64 use Java for x64, not the x86 version, and that it's running properly.
If using Linux or Mac OS X you will need to install the Oracle JRE.
If have Open JDK installed you may run into problems running Billbox POS. At this time it is not supported and for future it depends on Open JDK’s compatibility with current and latest JRE.
Get Java : Download
2. MYSQL
This version requires MySQL 5.5 or later installed and configured properly.
Get MySQL : Download
3. Billbox POS
Make a billbox folder in a drive. Copy Library folder(Downlod Library zip file and extract it) and BillboxPOS jar file to billbox folder. Then Fire-up Billbox POS jar.
4. CONFIGURATION
Fire-up Billbox POS and head straight for the Configuration panel. Settings are here for everything from Databases through to Printers.
Configuration settings are stored in a disk file: billbox.properties
Windows XP : \Documents and Settings\username
Windows 7-10: \Users
Linux : /home/username
Mac OS X : Users/username
5. PERMISSIONS
ROLES
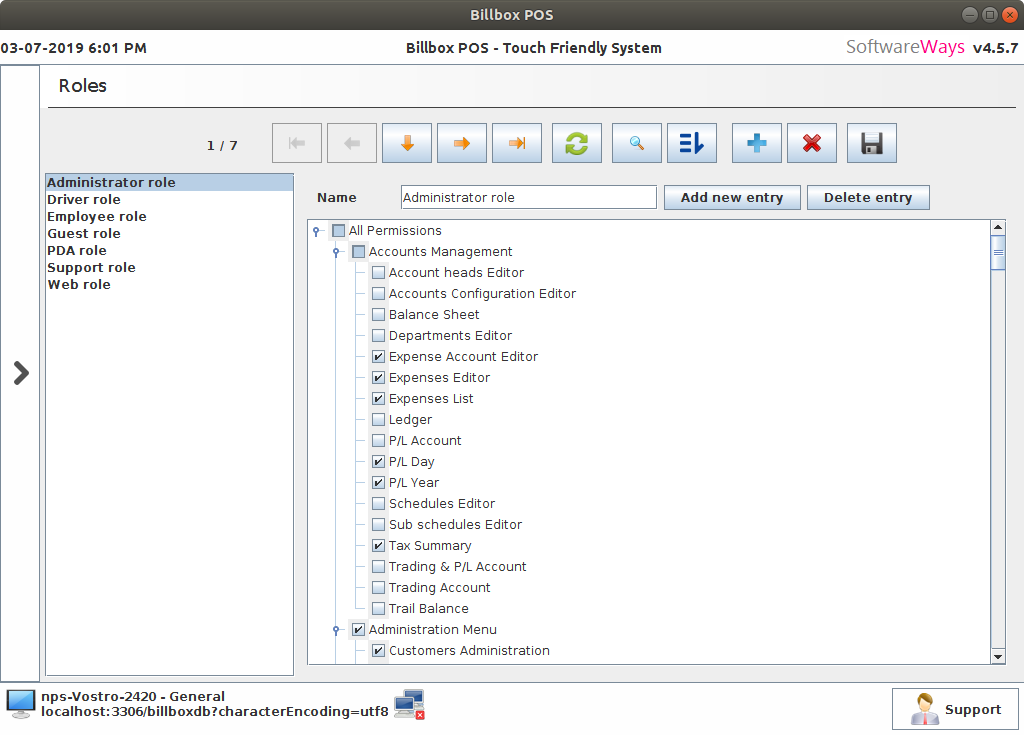
Permissions control what is visible on the main Billbox POS menu as well as certain other functionality.
By default the Administrator Role has access to all Billbox POS features and functions.
Three default Roles are created at time of installation.
Here in descending order of importance and visible menu options :
1.Administrator
2.Employee
3.Guest
You can create an unlimited number of Roles and modify them to suit your operation.
Use the Administrator Role as the template for new roles.
Go to Administration -> Maintenance -> Roles
USERS
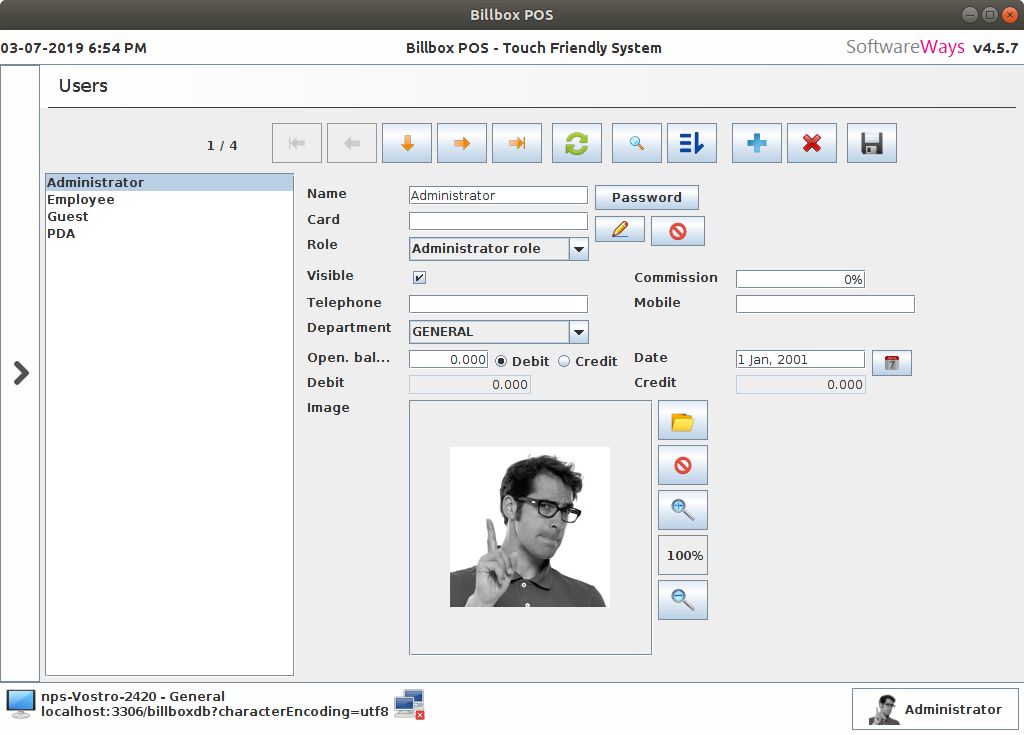
Go to Administration -> Maintenance -> Users
Four default Users are created at time of installation.
1.Administrator
2.Employee
3.Guest
4.PDA
You can create an unlimited number of Users.
To create a new User: Click button New(+)
6. TAXES
Billbox POS has two Rate types already created: NOTAX, Standard.
Go to Stock under Administration and Select Taxes.
Set up Tax bands that can be associated with Products. This allows taxation calculations to be performed automatically.
7. CATEGORIES
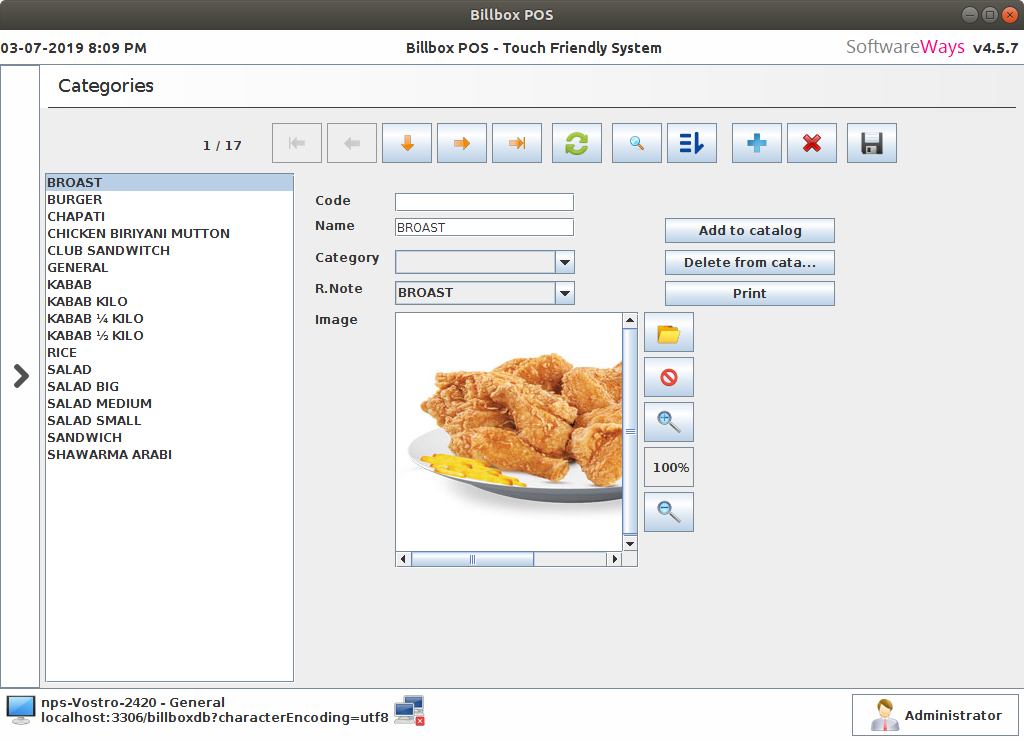
Go to Administration -> Stock -> Categories
Use a Category to conveniently group a set of Products.
A default Category is created at the time of install – general. You can rename it and go on to create as many as you need.
Managing your Product catalogue starts with setting up Categories and then adding Products to the Categories you create here.
8. PRODUCTS
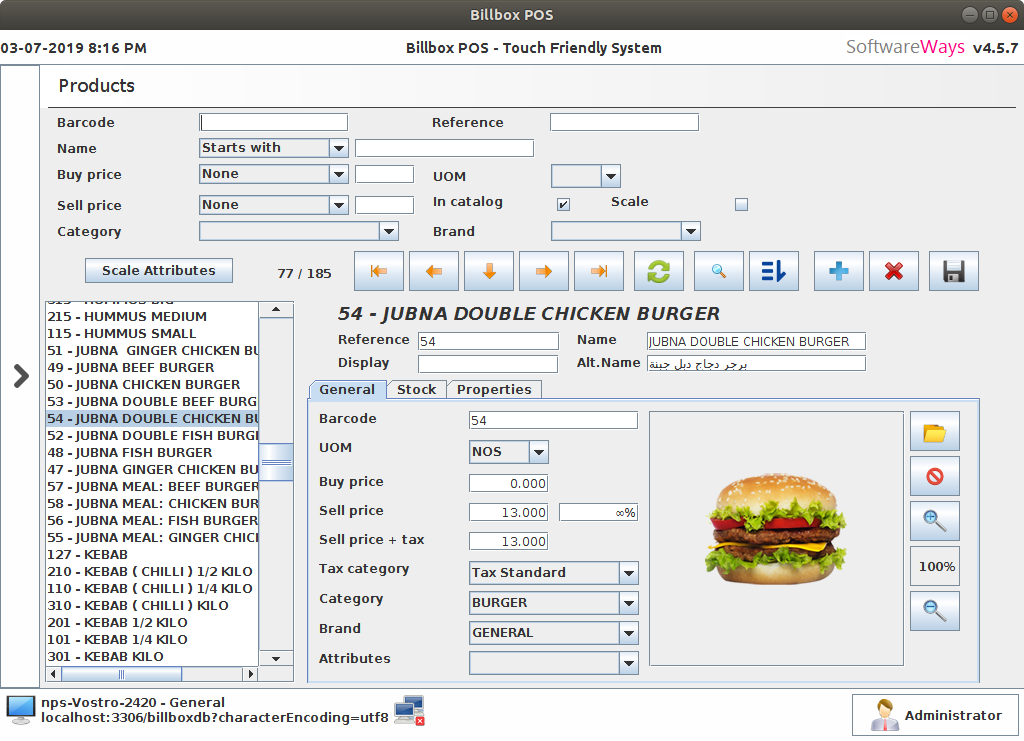
Go to Administration -> Stock -> Products
Probably the most important part in Billbox POS you need to get right.
Assign everything here from Barcodes through to Sales screen button images.
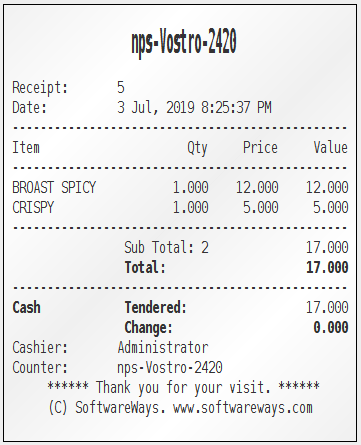
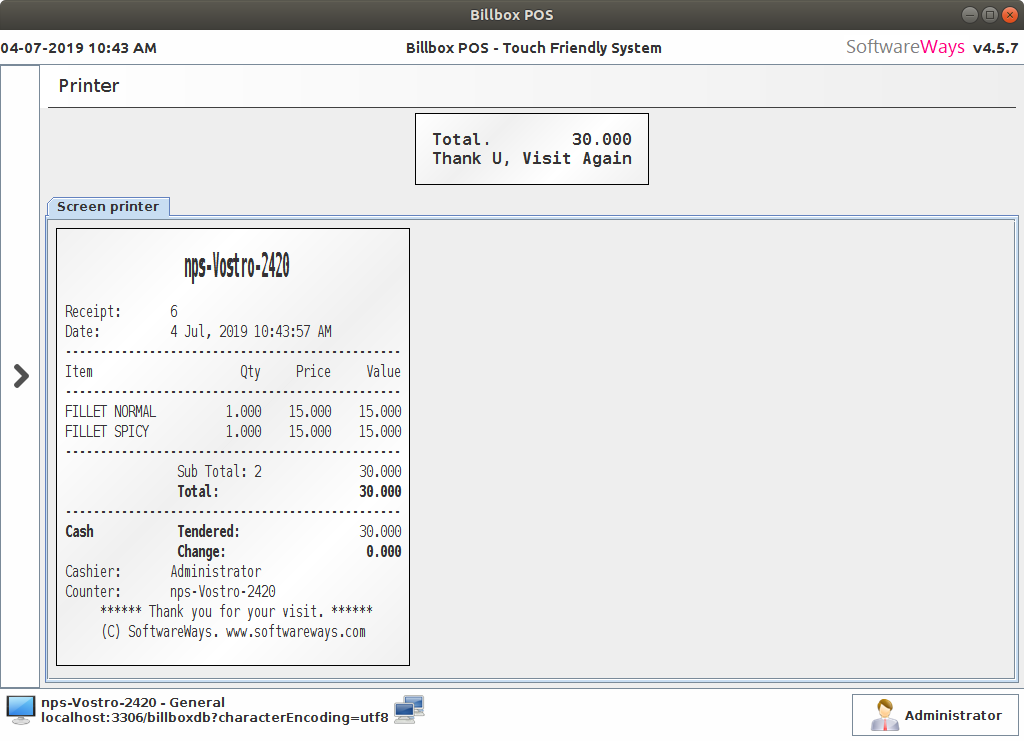
9. RECEIPTS
Advanced configuration of Billbox POS is done via the Resources panel rather than with a GUI.
To change the default ticket you must go to the Resources panel and edit the resource with the name Printer.Ticket.
Billbox POS uses a language based on XML called Apache Velocity - reference to Velocity - to print receipts and output to a Customer Display which is independent of the model of printer and customer display used.
All of the variables available are used in the Printer.Ticket template
A default ticket template such as Printer.Ticket (a Receipt) can serve as a good reference point for other ticket variations you may want to create.
$ticket and $ticketlines class variables are pre- set and you should refer to the Billbox POS Developer documentation if you wish to change or add additional variables.
Go to Administration -> Resources -> Printer.Ticket
10. RESTART
Adding or changing Taxes, Categories, Products and Resources are immediately visible and available to use.
The only exception to this is if you have made a change to the Printer.Start Resource as this initializes the Customer Display when Billbox POS starts.
If you have made any setting changes in the Configuration form you need to restart Billbox POS for them to take effect.
Start Billbox POS
Login Screen
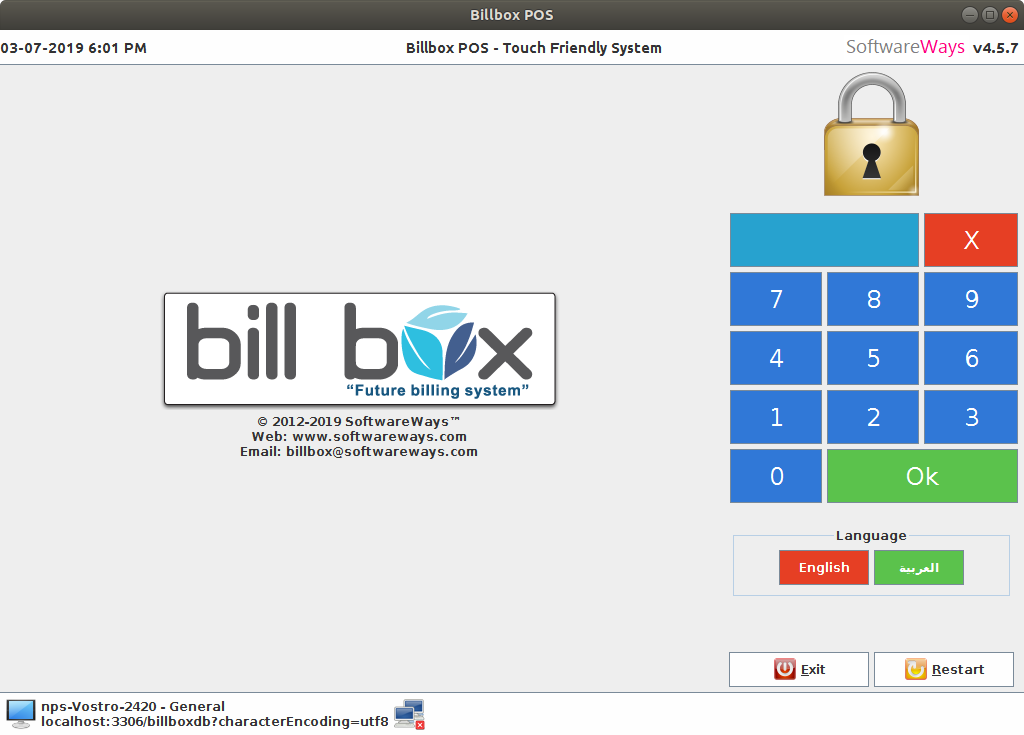
Login via PIN and MSR card reader. Default logins
Administrator - 1111
Employee - 3333
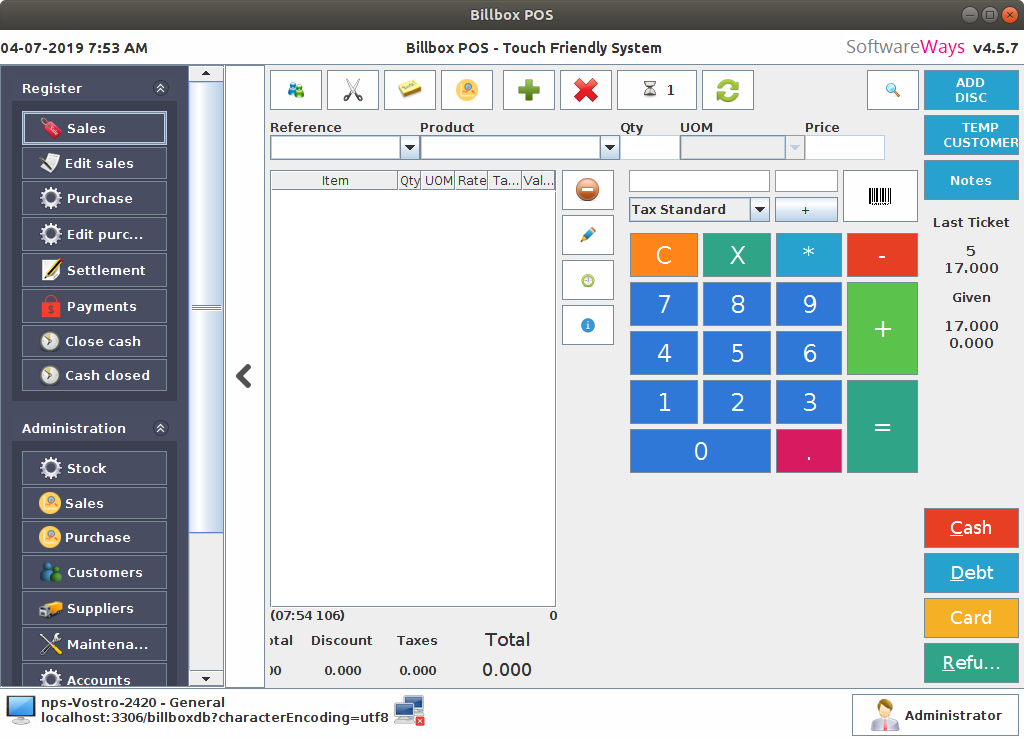
Sales
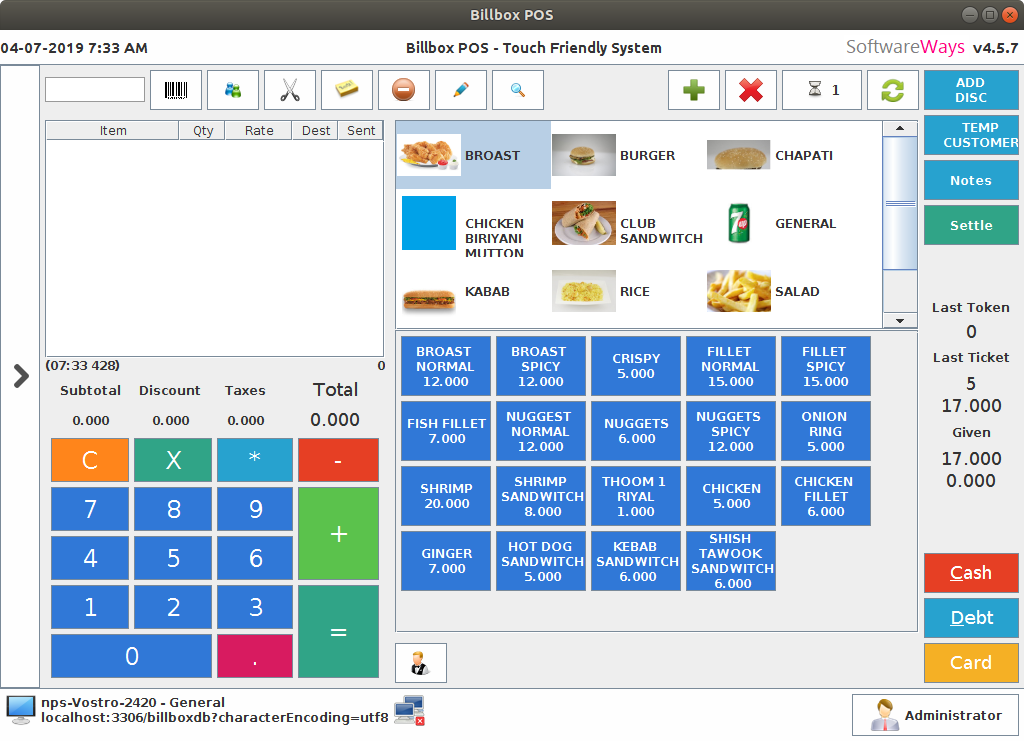
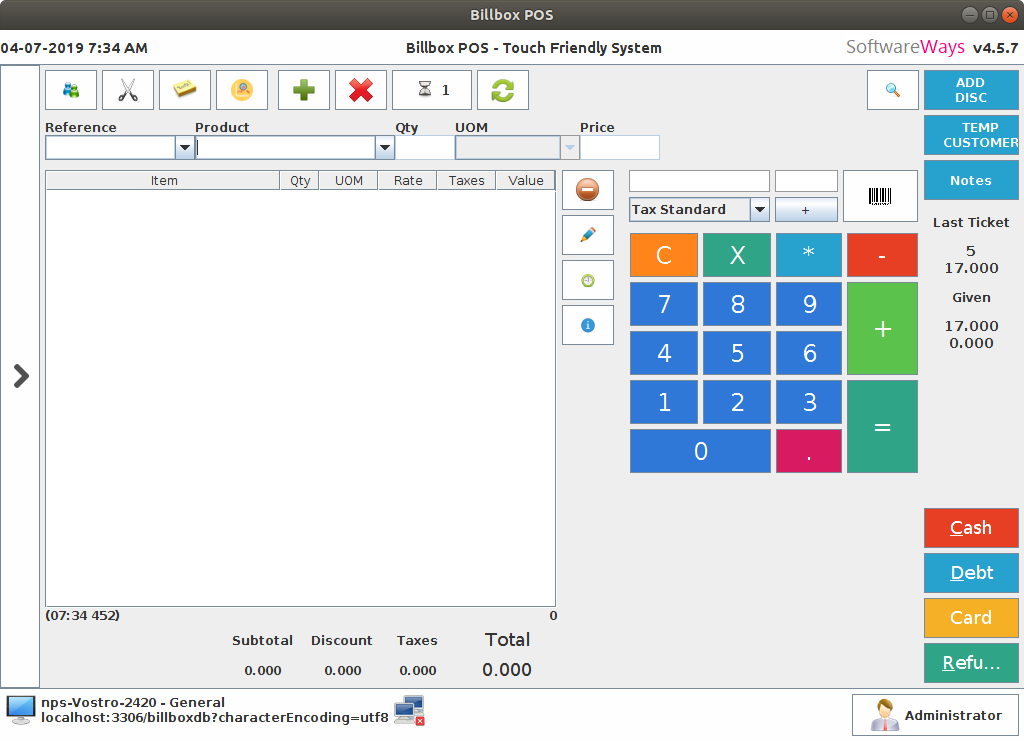
Sales - Standard
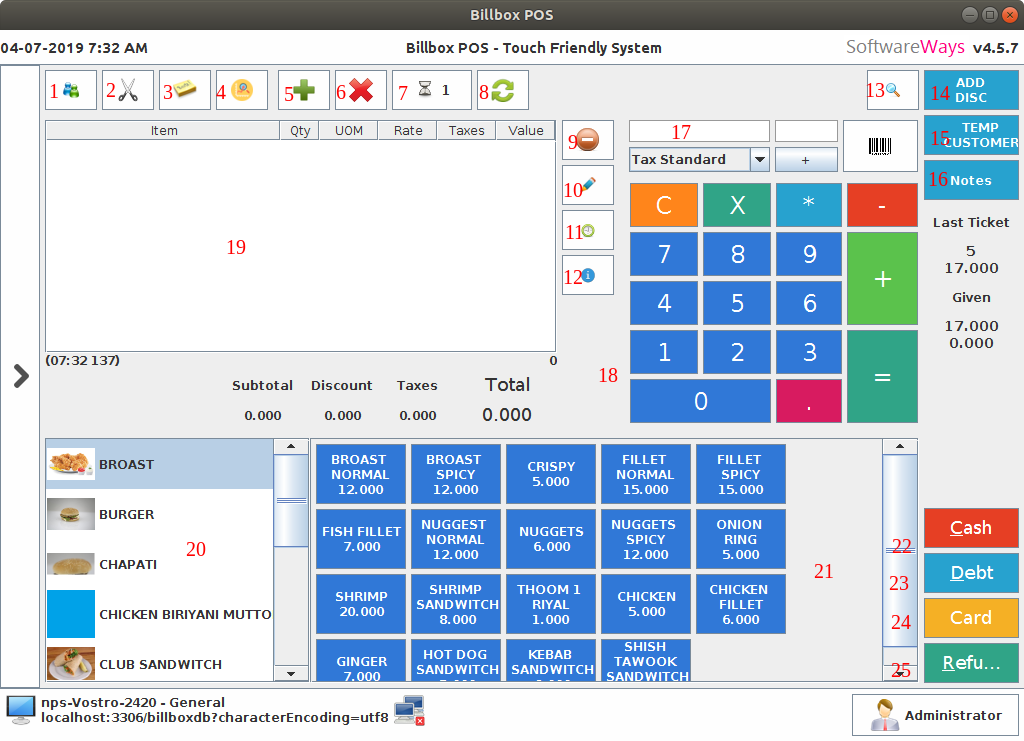
This is a standard sales screen
1. Add customer
2. Split Receipt
3. Line notes
4. Reprint last receipt
5. New Sale
6. Cancel Sale
7. Receipt hold list
8. Refresh receipt hold list
9. Delete line
10. Edit line
11. Product Sale and Purchase history
12. Choose attributes
13. Product search
14. Discount on total
15. Assign walking customers
16. Receipt notes
17. Barcode scanner
18. Touch keyboard('='- Payment, '+' - Increment quantity, '-' - Decrement quantity)
19. Product cart
20. Categories view
21. Products view
22. Quick Cash payment
23. Quick Debt payment
24. Quick Card payment
25. Quick Refund
Sales - Kiosk
This sale screens for Kiosk, Restaurant, Cafe, Hospitality etc..
Sales - Retail
This sale screens for Retail, Grocery, Supermarket, Hyper market, Pharmacy etc..
Edit Sales
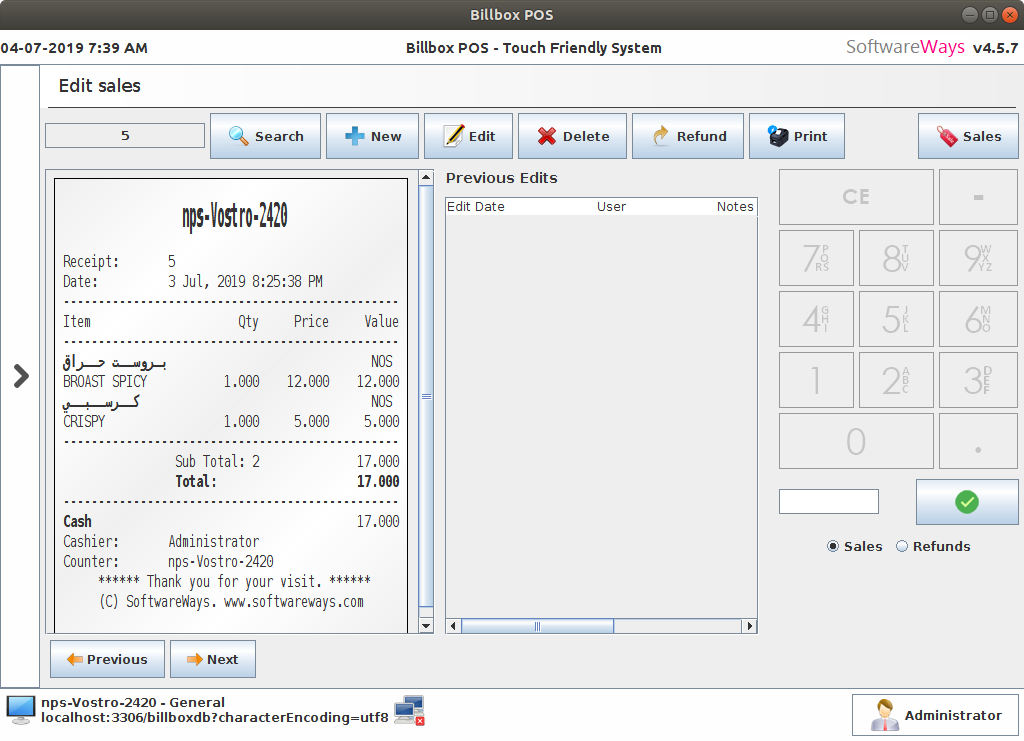
This screen represents for modify receipts such as Search, Edit, Delete, Refund. Also Print and Invoice receipts from here.
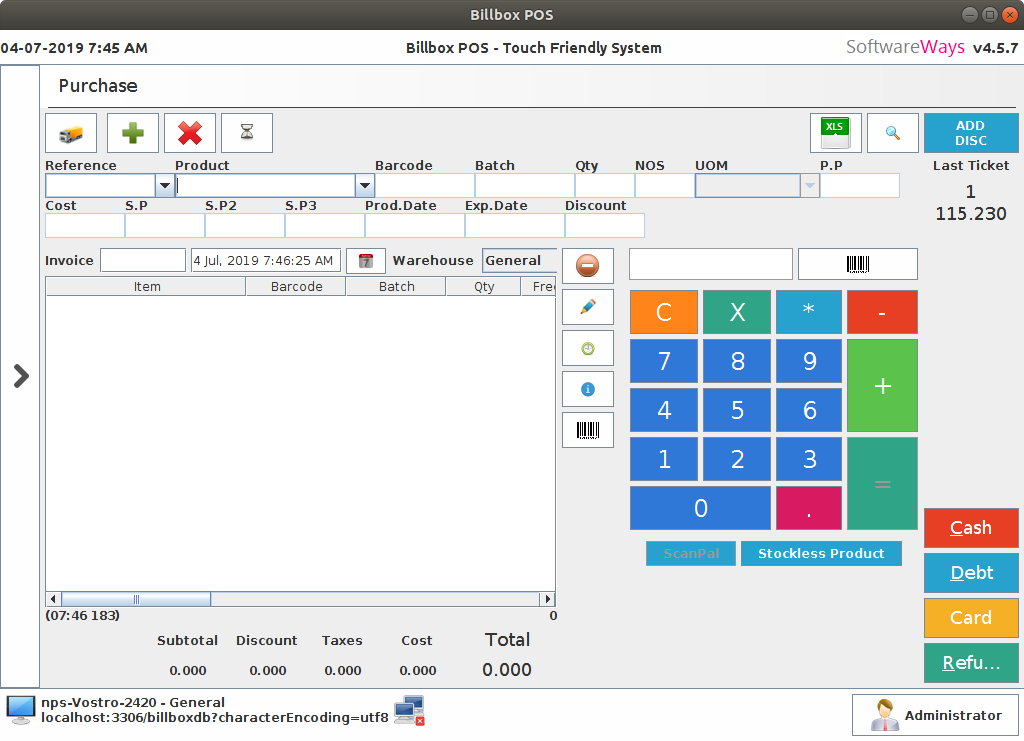
Purchase
Purchase - Standard
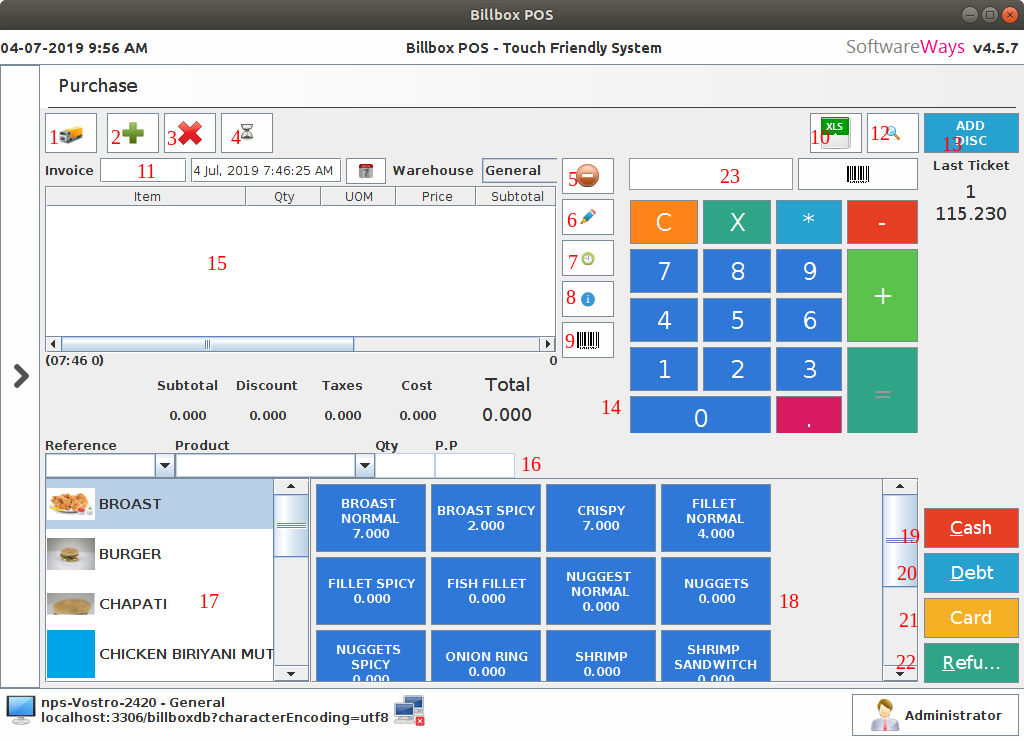
This is a standard purchase screen
1. Add supplier
2. New purchase
3. Cancel purchase
4. Purchase hold list
5. Delete line
6. Edit line
7. Product Purchase history
8. Choose attributes
9. Print Barcode
10. Upload bulk of products to cart using excel
11. Purchase inputs such as Invoice no, Date, Warehouse
12. Product search
13. Discount on total
14. Touch keyboard('='- Payment, '+' - Increment quantity, '-' - Decrement quantity)
15. Product cart
16. Product filter
17. Categories view
18. Products view
19. Quick Cash payment
20. Quick Debt payment
21. Quick Card payment
22. Quick Refund
23. Barcode scanner
Purchase - Retail
This purchase screens for Retail, Grocery, Supermarket, Hyper market, Pharmacy etc..
Customer Payment
This screen represents for collect the customer debts. Allow Bill to Bill payments and Print diary also.
Supplier Payment
This screen represents for collect the supplier credits. Allow Bill to Bill payments and Print diary also.
Payments
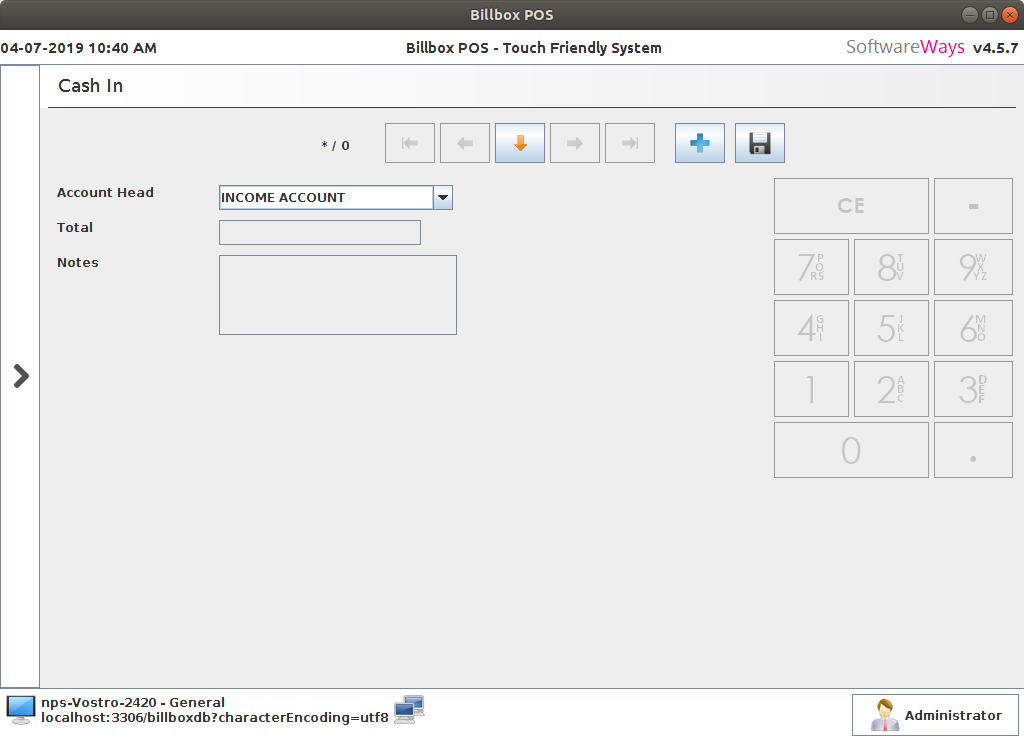
This screen represents for pay general incomes and expenses through Cash or Bank.
Closed cash
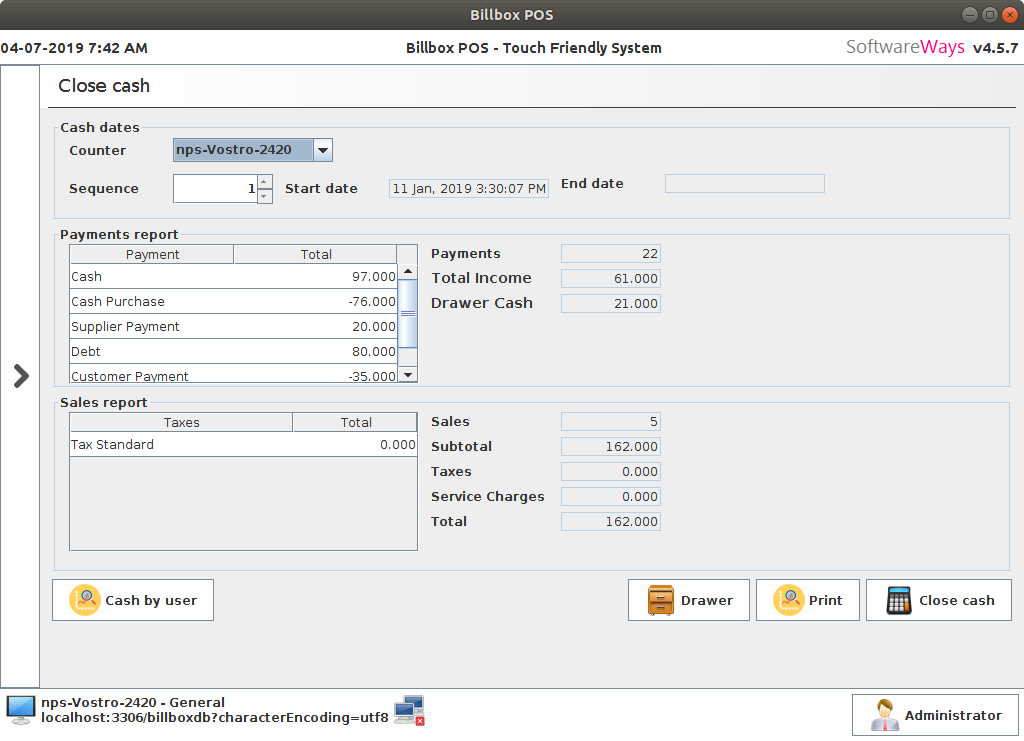
This screen represents for the summary of day to day payments. Allow Print summary and Close cash.
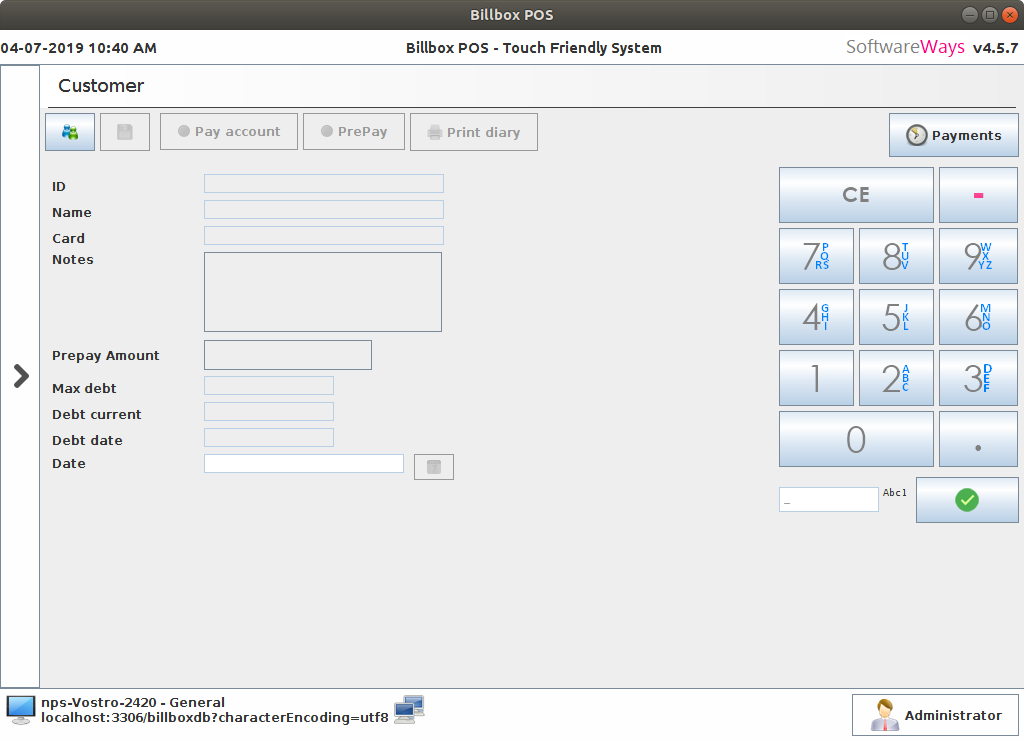
Customers
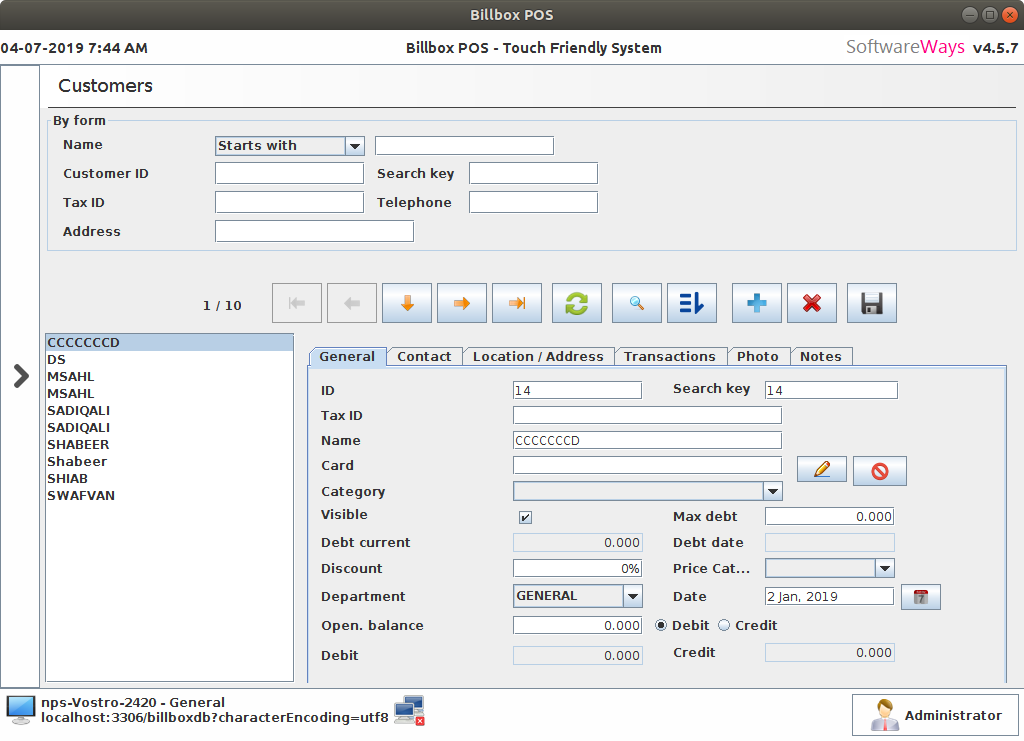
This screen represents for manage customers by giving all of its informations.
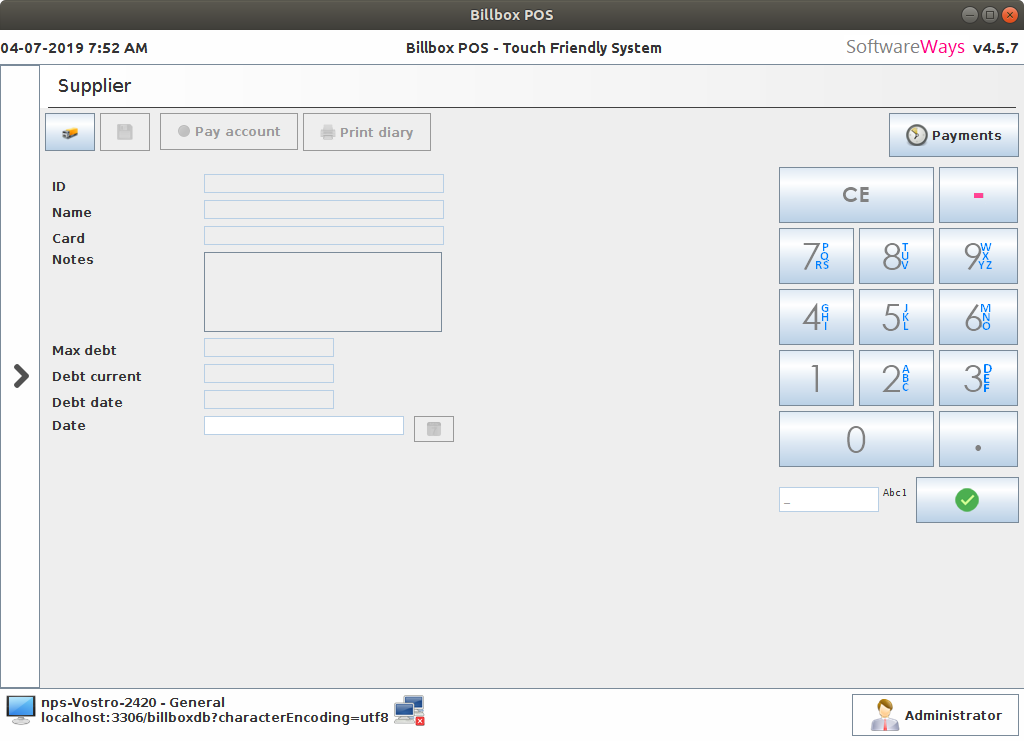
Suppliers
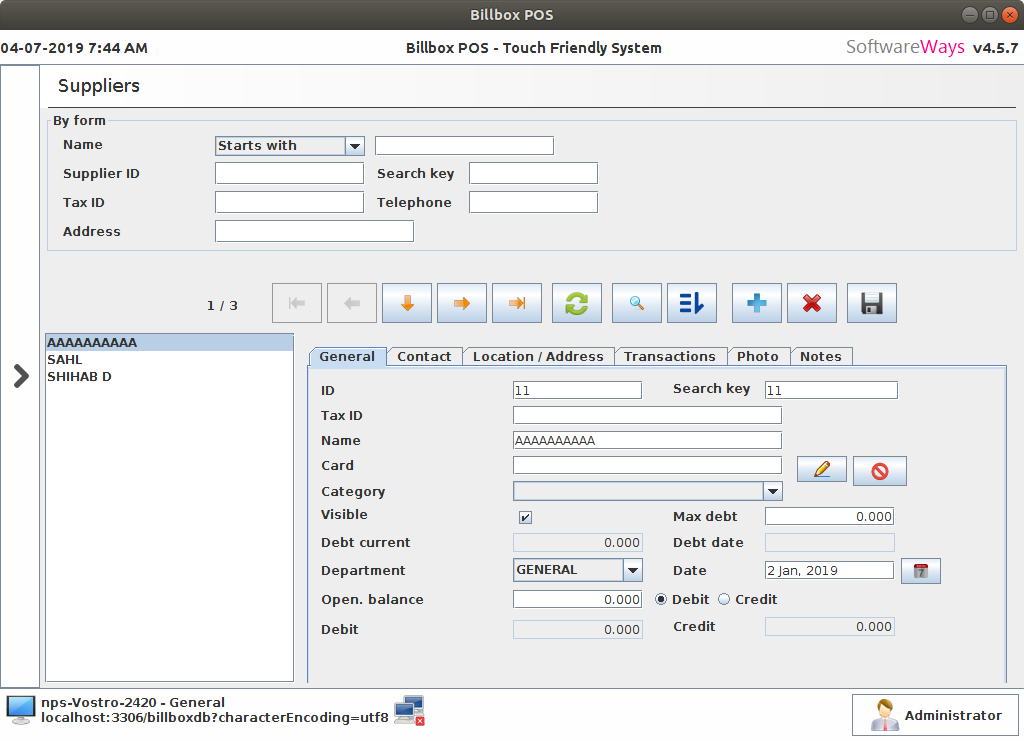
This screen represents for manage suppliers by giving all of its informations.
Menu
This screen represents for menu view.
Stock
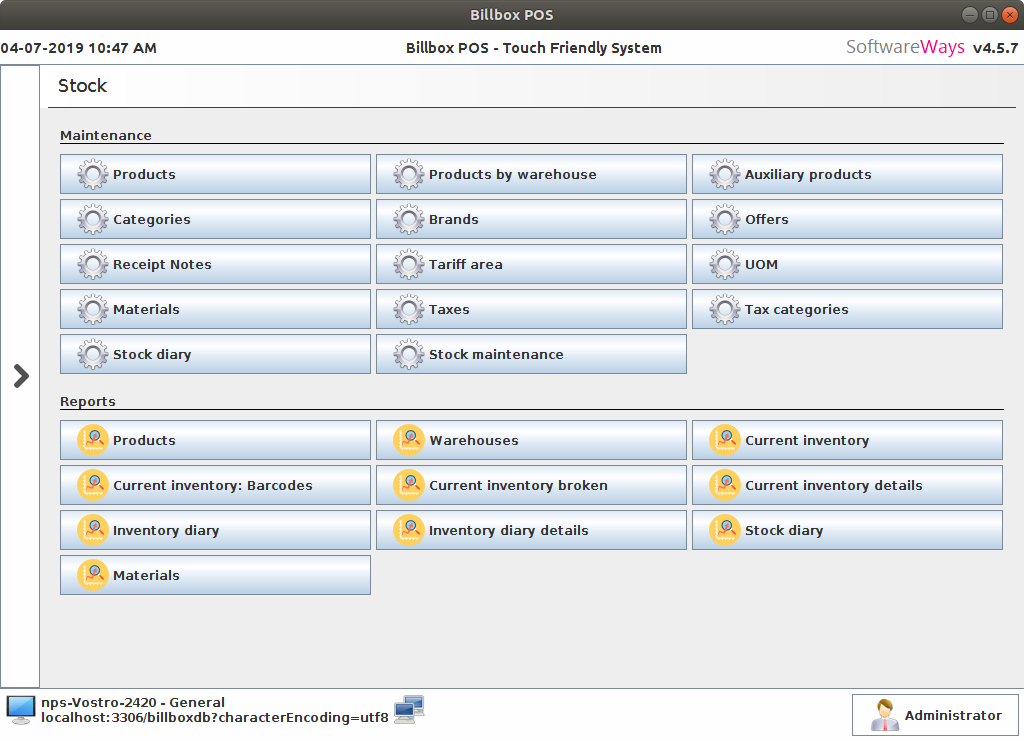
This screen represents for manage complete inventory.
Sales - Report
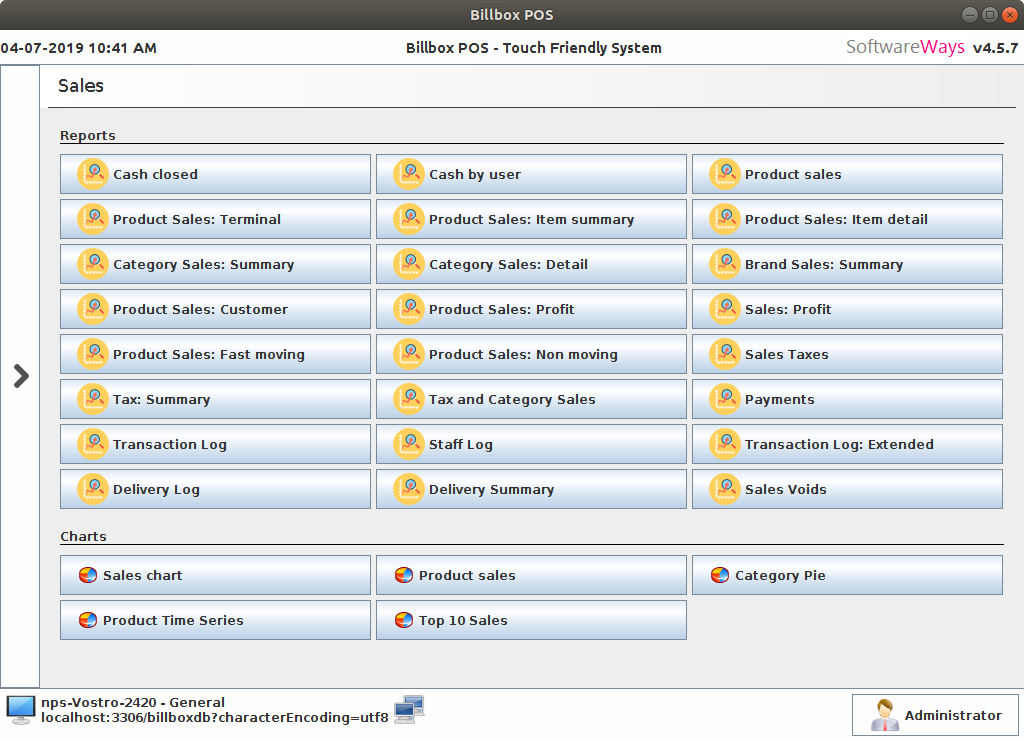
This screen represents for view sales reports.
Purchase - Report
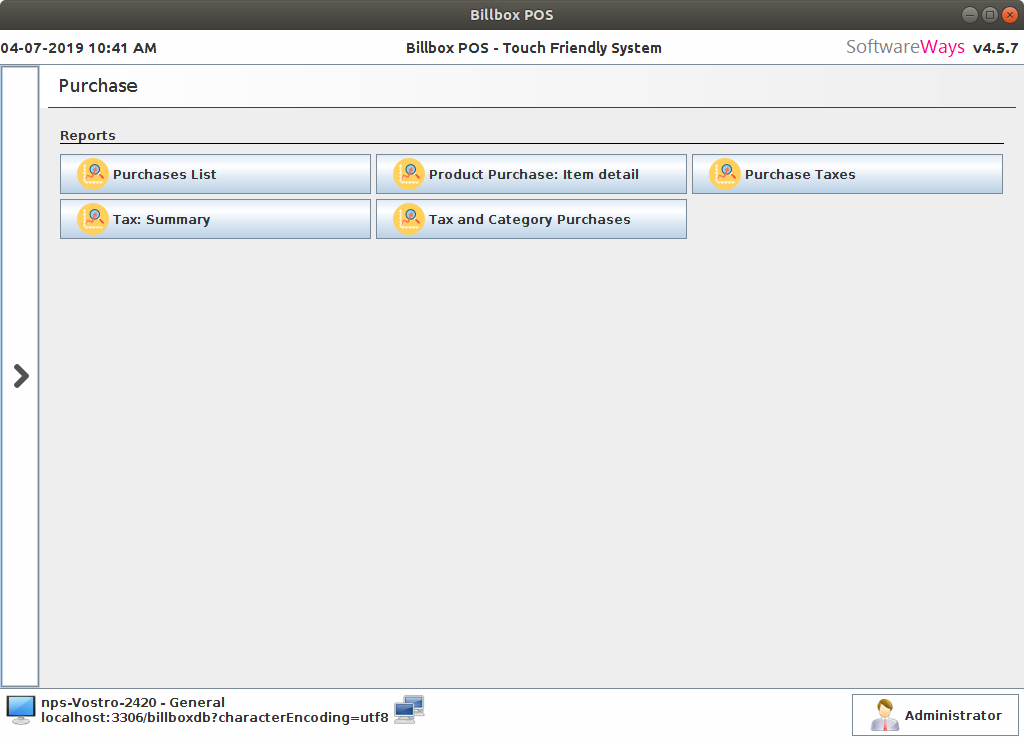
This screen represents for view purchase reports.
Maintenance
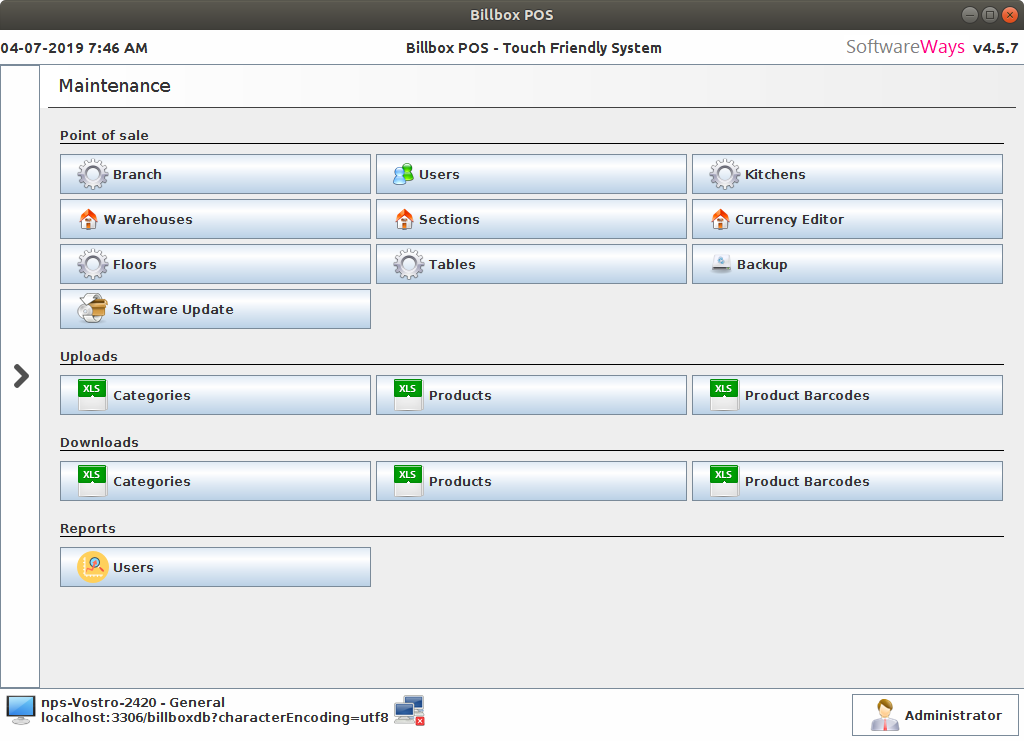
This screen represents for manage users and its roles. Also it includes database backup and restore.
Presence Manager
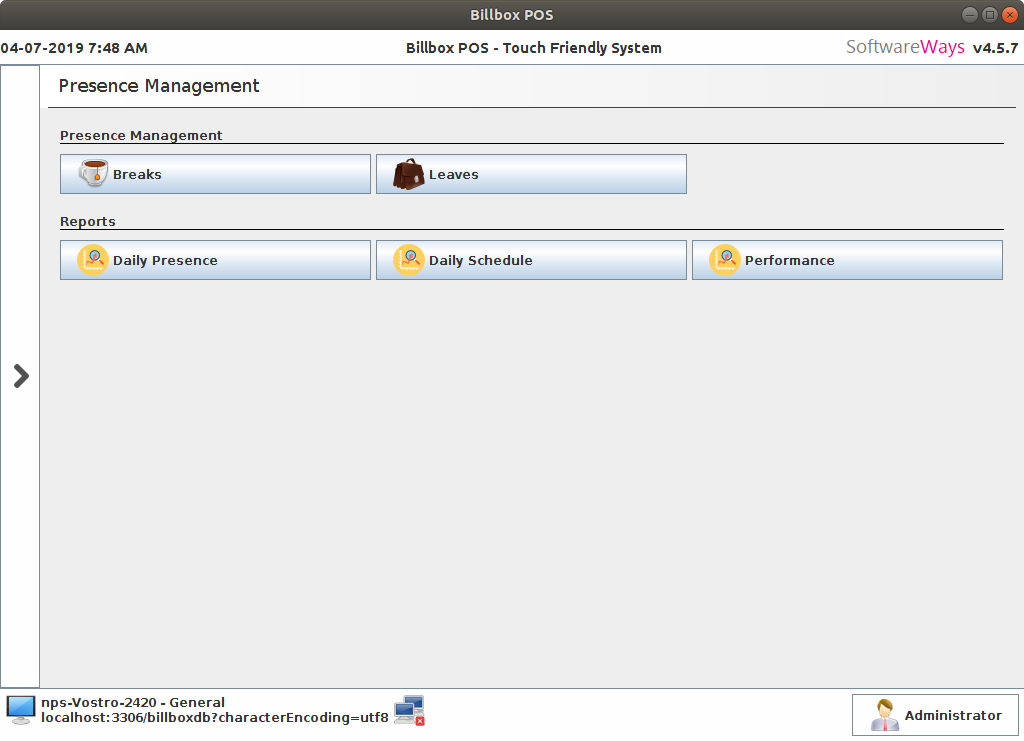
This screen represents for manage employees such as Leaves, Breaks, Dialy presence, Dialy schedule and Dialy Preformance.
Accounting
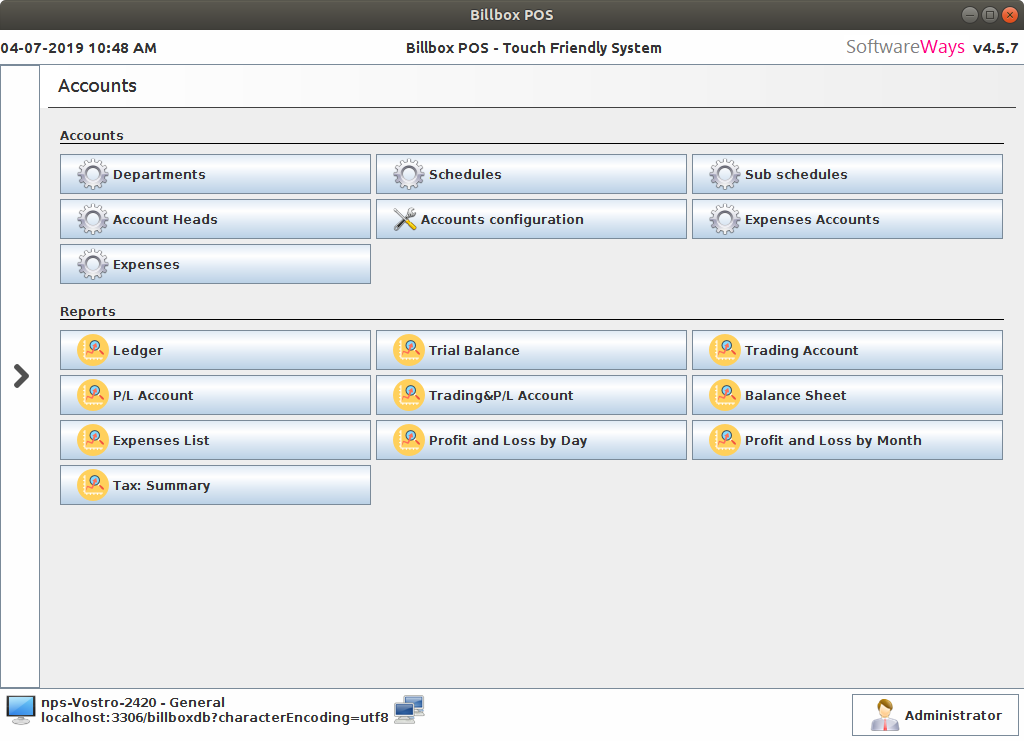
This screen represents the complete accounting.
Tax Summary
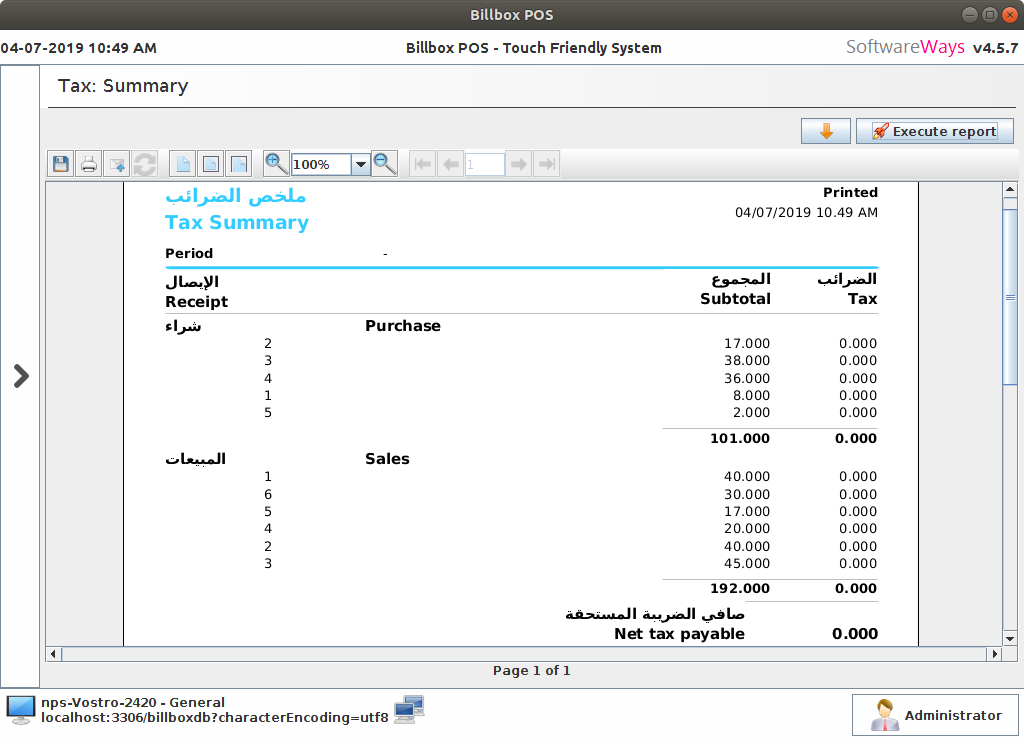
This screen represents the amount should be payable to central government.
System
Change Password
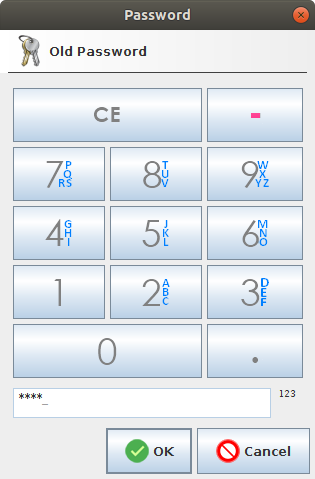
This screen represents the user can modify PIN.
Configuration
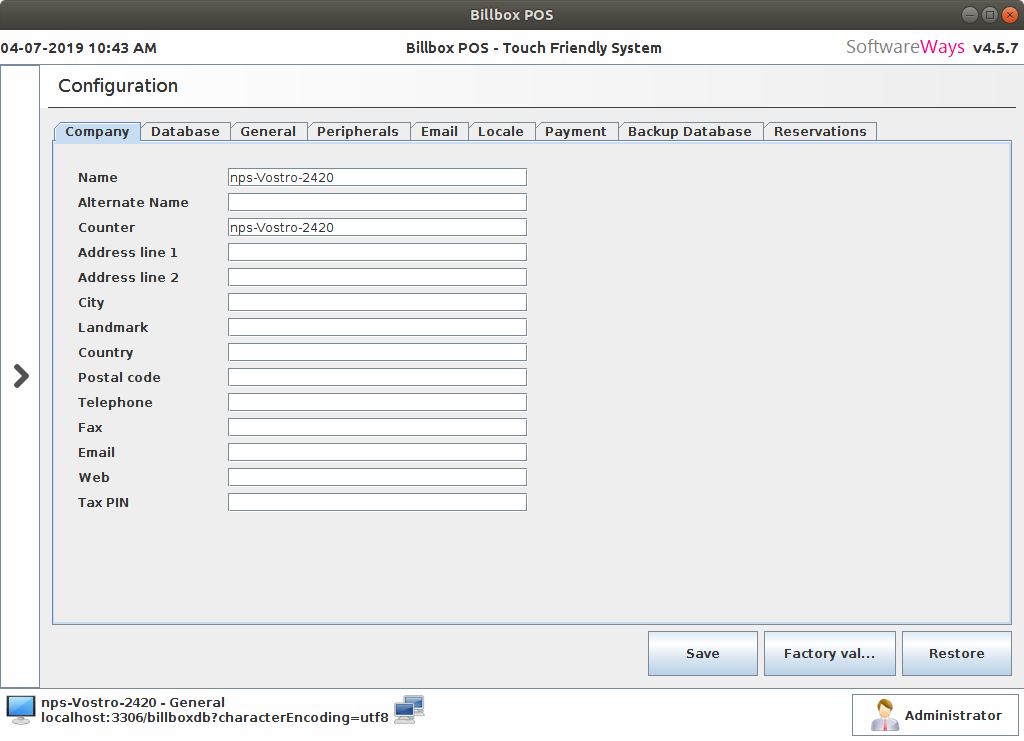
This screen represents the whole configuration of application.
Printers
This screen represents the receipt view of entire receipts.
Check In/Out
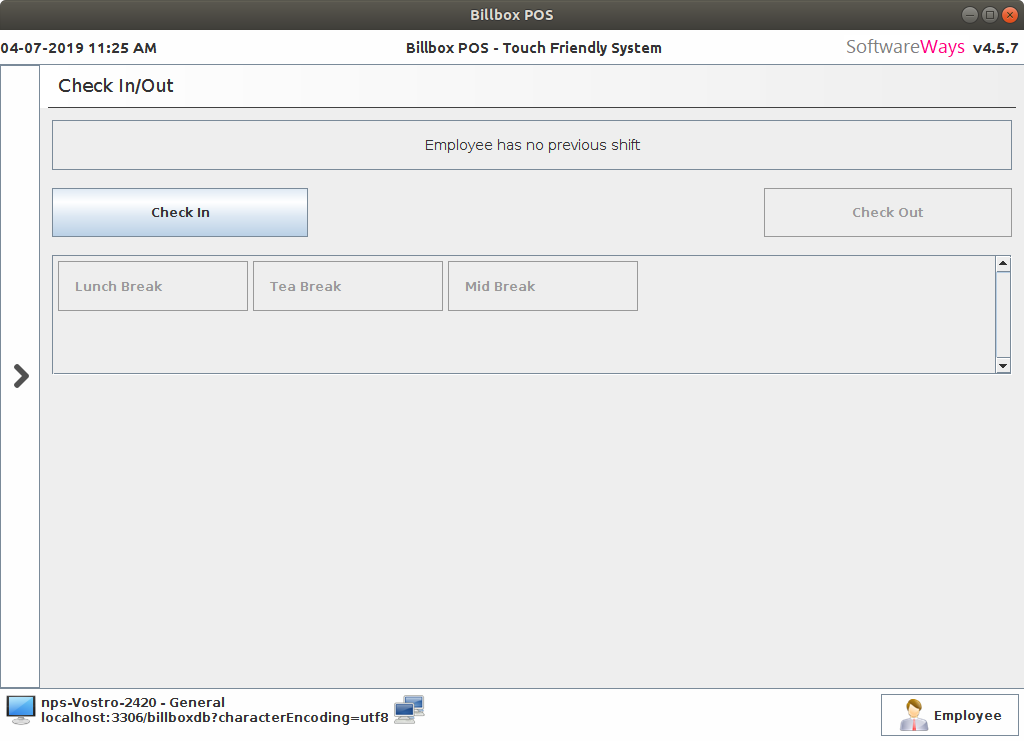
This screen represents the employee check in and outs. This system force the employee to checkin at the time of Logon and checkout at the time of Logount.
Logout

This screen represents the Logout. When user click right hand side user named button then application will logout.